I know it has been a VERY long time since my last post. I
really had good intentions this summer and I can’t even say life got in the
way. Instead I have been crafting and organizing my craft space like crazy…so
the news isn’t all bad. I DO have to go back to work in two weeks though and
pretty soon crafting is going to have to take a back seat to getting dressed
everyday and earning wages. Truly, I don’t know how so many of you are able to
craft regularly, work a full-time job, care for your family AND keep your blog
current. If there’s a secret, please do share! Anyway…on to today’s topic!
When I moved into my house in 2006 my third bedroom (10 ft x
10 ft) was made into an office with built in workspaces and shelving. In the
last year, my crafty stuff has slowly been taking over and it occurred to me
that I’m a simple school teacher, what the heck do I need an “office” for? So
slowly but surely it has evolved into a craft room, and with that has come the
need to move things around and organize.
I mentioned that I’ve been an organizing fiend this summer and
in working through that task, I had an epiphany the other day. The urge to just
buy, buy, buy is starting to dissipate (important because I’m a teacher, and
well…’nuff said!) because I can put my hands on almost everything in my craft space
quickly and easily, and in doing so, I am rediscovering many things that I
totally forgot I had.
So…this begins my series of posts on organization, which I
actually promised to do a long time ago. I can’t take credit for most of the
ideas and when I’m able, I’ll point you in the direction that the idea came
from so you can get more information.
Today…it’s my paper. By many standards, I really don’t have a
large collection of paper but it’s enough to keep me busy for a long, long
time! I store my paper in JetMax cubes and prefer to store it standing up
because it is much easier to remove a sheet of paper and return it to the right
spot if I don’t use it. I know some people worry about the paper curling or
warping, but that really hasn’t been an issue for me. Awhile ago I stored my
paper flat and it was truly an effort to keep it organized especially when I
needed to put some back. I keep my cardstock organized by color, and my
patterned paper organized by color (whatever color I “feel” first when I look
at the paper). I don’t organize by mfg because I don’t buy enough paper that
way. When I first started purchasing paper stacks, I would pull them apart and
file them according to color, but I quickly realized that it is better to keep
them together, especially when trying to coordinate patterned papers for a
project. So now I just label the spines and keep them turned so that I can see
them.

This summer I did pull out special categories of paper and
stored them separately in this little basket. These are the categories I use: Autumn,
Birthdays, Disney, Holidays, Kids, Metallic Paper, Places (zoo paper, Lego Land
paper, etc.) Music, People, School, Sentiments, Shaped Paper, Sports, Spring,
Summer, Transparencies, Travel, and Vellum. I also have all of my CM Power
Palettes, Harry Potter paper and large alphabet sticker sheets in here.
I keep all of my scraps, and most 8 ½ x 11 paper I come by, in
drawers according to color. Solids and patterns are mixed together and I don’t
keep any pieces that are smaller than 2” x 2”. I always trim my odd-shaped scraps
into rectangles. Whenever I need a small piece of paper for a card or cricut
cut, I start there first! The bottom drawer contains paper I no longer like and
so I used it for practice cricut cuts.
So today’s lesson is this…if you haven’t already done so,
get organized. Do it in small baby steps a little bit at a time. Start with
your paper, because that’s at the heart of PAPERcrafting!
Thanks for visiting!

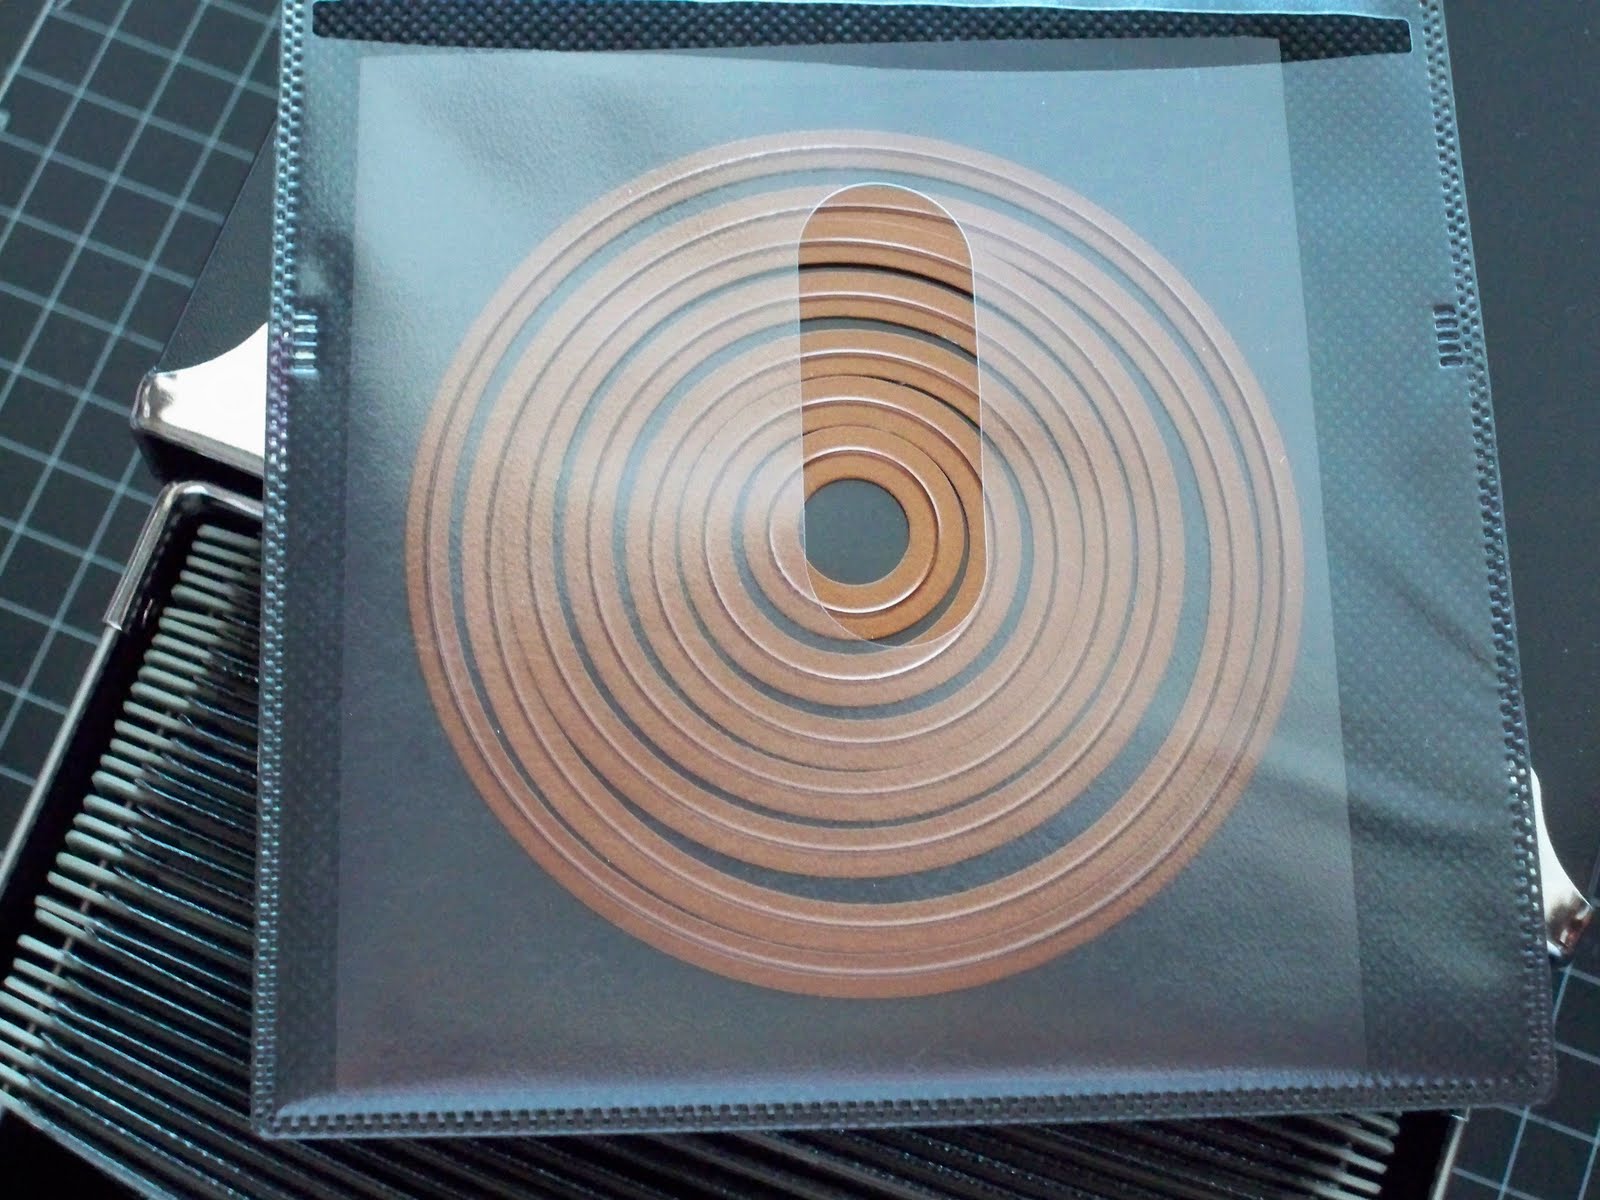
 When I started collecting Spellbinders dies about six
months ago, I happened on this YouTube video with a great storage idea. So I
decided to use that idea to store my Mega Nestabilities and my
Impressabilities. This is what I came up with…not very artistic, but it does
the job! I purchased my magnetic sheets from Home Depot; they’re magnetic vent
When I started collecting Spellbinders dies about six
months ago, I happened on this YouTube video with a great storage idea. So I
decided to use that idea to store my Mega Nestabilities and my
Impressabilities. This is what I came up with…not very artistic, but it does
the job! I purchased my magnetic sheets from Home Depot; they’re magnetic vent