Pages

Friday, August 24, 2012

Anything Goes - Inks and Such Challenge #19


One of my sorority sisters celebrated her 50th birthday this evening and I needed a card. I haven’t colored in a while and so got it in my head that I would do an image for the card that I was making. *All I can say about THAT is that my coloring needs a lot of WORK! I wasn’t 100% pleased with the way it came out, but I didn’t hate it either. Sadly, when you take pics of or scan your work, all the imperfections show up. But I’m gonna keep it movin’!*

Anyway, I decided to use a Robert Jackson image *this one is called Girlfriend* and kind of scraplift a card I had seen on Okie's blog a long time ago.  For the first time ever, I chose my paper BEFORE coloring my image. I must say, that made matching things up much easier. Usually I do the image first, and then try to find paper to match. *For someone like me who is challenged when it comes to choosing paper and matching different patterns and whatnot, that’s just asking for trouble!* Knowing what paper I was going to use made it very easy to go to my Copic Hand Color Chart and choose the right colors.

BTW...This is going to be my first submission ever over at Jackson Digital Expressions for the Anything Goes - Inks and Such Challenge #19!

I had drawn little gold stars in the background, but didn’t like those. My choice was to recolor the image *no time to do that*, cut around the image *wasn’t gonna do that either*, or fix it somehow. I chose option number three and added bling to the stars. Not perfect, but not horrible either.

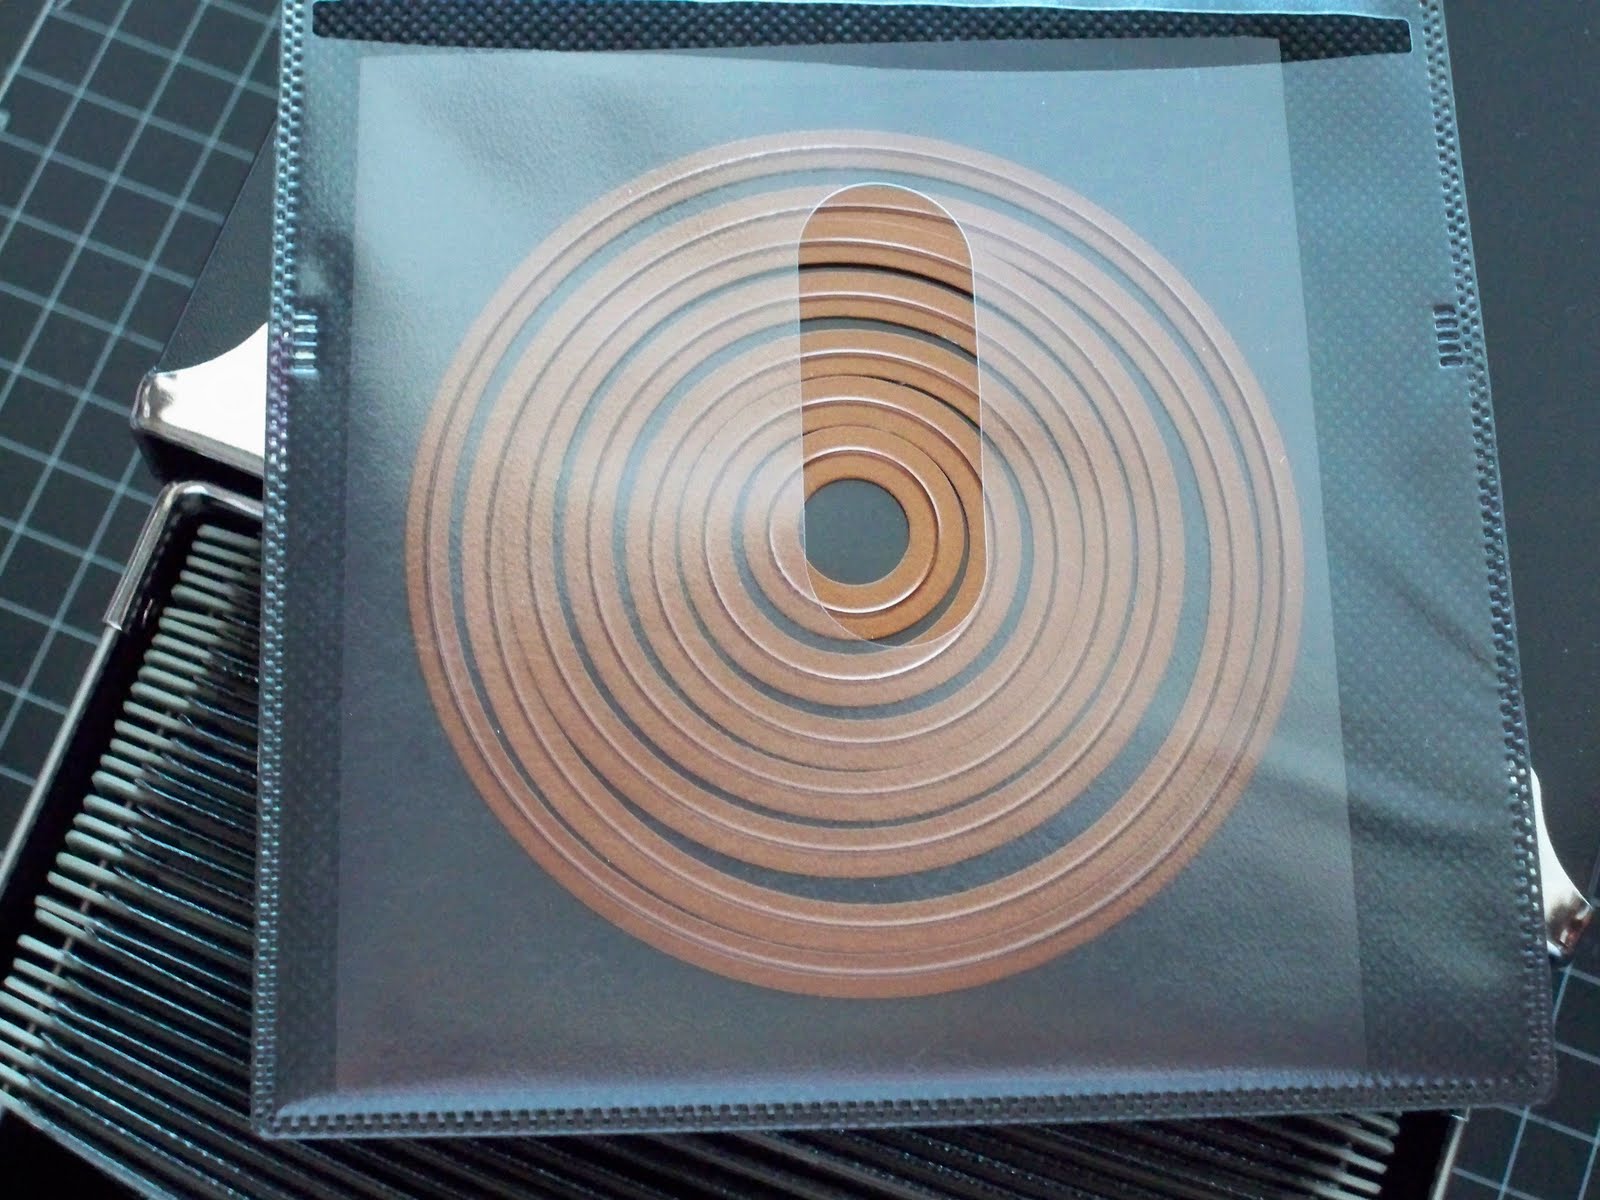
I used Spellbinders Mega Oval Dies to cut out and emboss my image and the mat behind it. I didn’t realize until now how much I DON’T like the way that particular set of dies nests together. There’s too much space between sizes. So when I put the image in white on top of the mat in green, there was too much space in between and I didn’t like it. I needed something to fill in the space but wasn’t sure what. Then it hit me…fiber! I traced around the image with a pencil, and then using my trusty ATG applied adhesive just inside the line. I placed the fiber on the sticky line, making an oval with it. I had just enough with about an inch left over. And this is the result…

Robert Jackson image, Copics, patterned paper from SEI - Bright Blossom stack, and fiber and scraps from my stash.

Not too bad and the birthday girl loved it! That’s all that matters!

And so, the lesson today is…
  1. Before coloring an image to use on a project, decide on what other papers you will be using first. That will make matching everything up so much easier.
  2.  If you put a project together, and something seems to be missing or not quite right, think about what you have in your stash that will help you to complete a project you will be happy with. You just might be surprised at how it turns out!

Thanks for lookin’!
Karen aka WrinkleFreeDiva

Thursday, August 23, 2012


I needed a quick card for a baby shower. As I am part of the Baby Boomer generation *gasp… I can’t believe I admitted that…* and don’t have any friends or relatives who are of child-bearing age, I don’t have very many baby-related stamps or embellishments.

I remembered a Copic-colored image I had done for an online Copic class. Of course after finishing the image, I made a scan of it to post in the classroom.  It occurred to me that it would be perfect for the card so I printed it out on Bazzill textured cardstock and used the small and large Spellbinders Classic Scalloped Circles to make the mats from scraps in my stash.


Went searching through my scrap drawers for paper that would work *cause of course I don’t have any baby paper either AND I HATE cutting up whole sheets of paper to make a card* and found these old scraps that were a perfect match for the image. It was a double-sided sheet of cardstock from a LSS store that closed over five years ago. I had purchased many sheets of the paper and used it on at least one layout that I could remember. I added a strip of pink paper punched with a border punch, some ribbon and a bow *courtesy of my trusty Bow-Easy*, and three rhinestones.


I don't know about you, but I am still a HUGE novice when it comes to coloring with my Copics *even though I own WAY MORE than a novice should own*. Because I don't color a lot *and therefore don't get very much practice* it takes me FOREVER to color an image to my satisfaction. So when I do, I scan the finished image into my computer for posterity's sake! 

Which brings me to my lesson for today...

When you color an image and think to yourself "WOW! I did an amazing job on that!", scan it into your computer and save it BEFORE adhering it to your project. You never know; it could come in handy when you need a card or other project in a pinch. ***Sidebar: I heard tell of someone who got an order for many  of the exact same card/invitation (something like 15 or more..maybe it was 20+) and was hand-coloring each and every one of them AND this person had a full-time job and family and was staying up until the wee hours of the morning to get this order done. NEVER would I have done that!*** But that's me... jus' sayin!

So with that, I will bid you good-bye for today and as always, I thank you for looking!

Karen aka WrinkleFreeDiva

Wednesday, August 22, 2012

Maximixe Your Crafting Time


A few weeks ago I was chatting with my CFF *Crafty Friends Forever* Sharon S.  over at SOC. She had recently posted a card on her blog where she used spray mists. It was absolutely beautiful! As we were chatting she encouraged me to use my Glimmer Mists of which I have many. So I chose a few colors and began misting away. 

Wanting to get the most out of my “misting experience,” I decided to spray a 12 x 12 sheet of white cardstock and cut it so that I could make four cards. Sadly, I’ve needed quite a few sympathy cards lately, so since I was making one card that was fairly simple in design, I figured it would be just as easy to make four cards that were similar. When I make a card it is usually because I need it for something specific and so haven’t really built up a go-to stash of cards for all ocassions. This is what I came up with:

This card was also used for the Use Your Stash Challenge over at Scraps of Color. 


Most of the paper is from my scrap drawers. For the flowers I used the Insightful Meadows set from the Unity Stamp Co. and the "With Sympathy" stamp is from the Best Wishes set from Close to My Heart. I also used Distress Embossing Ink and Ranger gold embossing powder.

So my lesson for today is this…
  1. If you’re making a card, and taking the time to ink, paint, mist, or stamp a background, why not just make it worth your time and do it on a 12 x 12 sheet of cardstock and net yourself four cards instead of one?
  2. When making cards and time allows, try to make duplicates so that you can build up a stash that you can pull from when you need a card but don’t have time to make one.

Thanks for looking!
Karen aka “WrinkleFreeDiva”

Tuesday, August 21, 2012

Classy Card Sketch Challenge #3


Received an email from Tiare’s blog, iClassyGirl, today with this week’s Classy Card Sketch Challenge. You can check out the challenge and the sketch right here. I am a follower of her blog, but it’s been awhile since I’ve had the opportunity to complete a challenge. Today’s sketch was easy enough and I needed a thank-you card that was long overdue, so I made the card you see below. I only used scraps from my scrap drawers *which led me to begin organizing those…but that’s the subject of another post!* I also used my new washi tape from Indie Chic *they call it decorative tape* and some stud embellishments from Michaels.


Thanks for looking and let me add a footnote here:

One of the reasons that it often takes me so long to update my blog is because when I began this blog journey, I was going to focus on things I learned while working on projects. But sometimes I'm hardheaded and don’t learn nothin’ which creates a sticking point when trying to think about what or how to post about a project. So… just this very moment, I decided that I was going to go with the flow and post as often as possible. If there’s a lesson to be found in that particular project I’ll share it. If not, c’est la vie, and I’ll post anyway!

Karen aka "WrinkleFreeDiva"

Saturday, August 11, 2012

Rubber Stamp Catalog Completed!


After many, many long hours of work, I have finally completed my stamp storage and catalog! And  the best part? I think I will be able to add to and live with this system for a long, long time.

Those of you who are following me will recall my previous post on stamp organization which you can find here. I’m one of those who jump on the latest scrappy organizational craze, and don’t take the time to figure out if that system will work for me. A couple of years ago, I decided to catalog all of my stamps in a rolodex file, and it didn’t take me too long to determine that it really didn’t work for me.

So last month, after acquiring some new stamp storage containers (each one holds LOTS of stamps), I took the opportunity to make a new catalog for my rubber stamps and it all fits in a notebook with lots of room for expansion.

I stamped many of the stamps directly on the pages. In other cases, I just took the pages directly from the rolodex and adhered them to the page (after trimming around them first). When the rolodex pages were double-sided, I photocopied one side first so that I had both images. And finally, for many of the sets, I just used Google to find pictures of the complete set and printed those to adhere to the pages. Each image is labeled with the manufacturer, the name of the stamp, and where it can be found in my stamp files. A-15 would mean the stamp can be found in container A on card 15. 


I’ve had the opportunity to need some stamps recently and finding them is a breeze! Can’t believe I waited so long to do this! What I love most about it is that all of my rubber stamps are shown at their exact size, which means I can see at a glance whether a specific stamp will fit my project or not.

So…for those who have read this far, the lesson today is a simple one:
We papercrafters are always looking for new and better ways to store our stuff. As a consequence, we are always organizing and reorganizing.  Keep in mind that what works for a fellow scrapper may not necessarily work for you. Before deciding on an organizational strategy, think long and hard about your work flow and the space you have. Also consider how much you have of the product (or tools) you’re trying to organize AND whether you’ll be adding to that collection or not. If you are planning to add to your collection of rubber stamps or cutting dies for instance, your organization system will need room to grow or else you’ll end up trying to come up with another organization system.

If you’ve read this far, I hope this has been of some help to you.

Thanks for looking!


Friday, July 20, 2012

Made a Mistake? Don't Despair... Repair!


Sometime last fall, I completed a two-page layout that I wanted to blog about, but didn't since the layout was made as part of a gift album; I had to wait until the recipient received it. By then of course, my focus was directed elsewhere and writing the post had to be put to the side, but for some reason it was never forgotten.

The layout was for baby’s first year, and my intent was to leave mats for photos of the baby each month, with a large mat for the baby’s first birthday. (Knowing me, I probably started with a sketch; but it's been so long, I can't remember.) While doing the mats for months 8 through 11, I made a mistake and stamped those titles above the mats, instead of underneath. If memory serves me correctly, at the time I designed the layout, I intended to put part of the title in that large green space on the left and so stamping above those mats kind of screwed that up. I had already put a lot of work into the layout at that point what with cutting and inking the mats and pasting everything down. Not to mention having very little of the carefully chosen cardstock I'd used left. Besides, I'm really not one to start over when working on a layout. So....I just let the layout "sit" for awhile so that I could figure out how to fix it.


As inspiration began to unfold, I stamped underneath the mats... where the stamping was supposed to be in the first place. 


Then, I decided to add some embellishments in the large green space as well as between the mats to cover up my "boo boos." 


Of course that meant changing the placement of my title while trying to maintain a visual triangle and keep my title grounded. All in all... I was quite happy with the result. And the most important part was, I didn't have to start over!


So... if you've read this far in my post, then you're ready for this take-away:
  1. When working on a layout or other project, don't despair if you make a mistake that you feel can't be corrected. And definitely don't feel like you have to start over!
  2. Allow that project to "rest" for a little while... that could be minutes, hours or even days. Once you feel that the "resting" time is over, look at your project again as if seeing it for the very first time.
  3. Let inspiration guide you and allow your creativity to unfold. While your project may take on an entirely different look or move in a different direction, what results may surprise you!


Friday, July 6, 2012

Rubber Stamp This Organization Idea!


People are always looking for ways to organize their scrappy supplies, and organization for rubber stamps is no exception. Several people have asked me how I organize mine, and so I thought I would do a post on stamp organiztion. I have tried several different ways to organize them, but as crafters you know that as you keep acquiring stuff, your storage needs change. I think I have finally come up with a way to organize AND find them that will grow easily (without requiring a complete overhaul) should I continue to acquire stamps (even though I don’t need to!).

Let me start by saying that I prefer wood-mounted stamps only because I seem to get a much better impression when I use them. I store them in the three-drawer Sterilite drawers. I have twelve drawers all together, and each drawer has two layers of stamps. 


Most of my clear-mount stamps are in these Memorex CD cases that I got from here. They were really inexpensive and seemed like a good idea at the time. The stamps are either on the original plastic they came adhered to, or on those laminated stamp pages that have been cut up. Then those are slipped into each CD sleeve; each case comes with 40 sleeves. However, once you start putting stamps in there, the case will not hold all of the sleeves it came with. This was working for me but the problem is each sleeve does not hold a lot of stamps which sometimes means splitting up sets. They also do not hold very large stamps. 


I have since found these Unmounted Stamp Files by Cropper Hopper (purchased here) and am in the process of transitioning all of my clear- and cling-mount stamps to them. They are quite large and will hold a lot of stamps. They also hold my CTMH stamps in their original plastic envelopes.


A majority of my red cling-mount stamps are on cut up laminated stamp pages and filed in these Sterilite CD boxes which I don't think they make anymore. Each box will only hold about 12 to 15 sheets and the sheets are very small. So I had a hard time getting some of my larger clear and cling mount stamps to fit in there. I did manage to get them in by turning them sideways in the drawer. I’m also going to move those to the Unmounted Stamp Files.


So… I guess you’re wondering HOW I organize them so that I can find them… By size? By theme? By image? Well… none of the above. When I buy stamps they go in the next available CD sleeve, or for the wood-mounted stamps, in a drawer that has space. I have indexed all of my stamps in a rolodex file so that I can find what I am looking for. It is organized into categories. I got this idea over at Split Coast Stampers and spent several days last summer stamping and indexing all of my stamps. If you look at the picture below, you will see the stamp with the hedgehog on the tightrope. On that card, you will see four notations: WM, 5, Penny Black, and Acrobat. The WM means that it is a wood-mounted stamp. The “5” means it is in Drawer 5 where the wood-mounted stamps are. “Penny Black” is the manufacturer/designer and “Acrobat” is the name of the stamp. Drawer numbers begin with “CD” for stamps that are in CD files. For my newer Unmounted Stamp Files, I have decided to label them A, B, C, D, etc and number the cards that are in them.


Now, I supposed I should tell you that after I spent all of the time making the Rolodex file, I don’t really like it. While it is compact and doesn’t take up a lot of room in my craft space, I think I would prefer to see more stamps at one glance. For example… if I’m looking for a “thank you” stamp, I’d like to see many of them at once. It would make selecting one much quicker and I wouldn’t have to spend so much time flipping back and forth in the rolodex file. Another problem with it is that if you want to see the image of larger stamps at actual size, they don’t fit on the cards. So I often had to cut the image from the package, or take a scan of the stamp and shrink it to fit. My background, Rubbernecker and Loralei stamps are a perfect example of stamps that caused me that problem. So… to combat that, I am now in the process of transitioning my index to a notebook with the same categories. At the same time the images for the clear- and cling-mounted stamps will be renumbered to match the new boxes. I can’t tell you how long that’s going to take me, but once that is done, I’ll do another blog post!


Thanks for reading!

Wednesday, July 4, 2012

Declaring My Independence!


***I love being able to follow other people’s blogs by email; makes it easy for me to keep up with what they’re doing. Therefore, I have added that gadget to my blog. I’d love for you to subscribe.

Hey everyone! Happy 4th of July. It has been almost a year since the last time I updated my blog. Same ole song; life got in the way. Really… it did.

The school year was kind of rough. Being a teacher is not like it used to be. It’s summertime, school’s out, so ‘nuff said.

My local chapter of Alpha Kappa Alpha Sorority, Inc. hosted our regional conference here in Phoenix in April. I was chairman of the registration committee which became almost a year long commitment. In the five months leading up to the conference, life shifted into high gear. During that time, I was still the editor for my regional director’s newsletter. Her last issue went to press two weeks ago so my work there is done!

I was diagnosed with multiple nodules on my thyroid last fall and as a result had my thyroid removed on June 4th. Other than my vocal chords (which may prevent me from returning to work next month), my recovery has been good.

I have put my house up for sale and am in the process of packing it up a little at a time. So far, there’s no rush to get my stuff out as the house hasn’t sold yet, and DS and I are already living somewhere else. Which leads me to the biggie…

I met and fell in love with a wonderful man, who has made it his life’s mission to take good care of me and my son. He’s warm, funny, loving, sexy, intelligent, talented, athletic and just right for me! (I knew he was a keeper when he wasn’t afraid to go into a scrapbook store on our first date AND paid for my purchases without my asking!) At the end of May, DS and I moved in with him. Prior our moving in, he made me brand-new scrapbook room complete with new paint, hardwood floor, desk top for my cubes, and diecut station (see pics below).  And he lives…. drum roll please…. directly across the street from my parents which makes my DS very, very happy! Life has been phenomenal and all of my cares and woes no longer seem important.

So…. on this day, I’m declaring my independence from:
  • taking on tasks or responsibilities that prevent me from doing the things I love and that bring me joy,
  • worrying about things that I have no control over,
  • worrying about what tomorrow will bring,
  •  negative people and negative situations; and,
  •  unhealthy living.

Thanks for reading and be on the lookout for future, and hopefully regular, blog posts from me!


Friday, July 22, 2011

You Paid for It: Use It! - Spellbinders Storage


The owner of one of the crafting Facebook groups I’m on issued a challenge to group members; by the end of July, create a project using at least one tool that you haven't used yet. My tool of choice was the “MUST HAVE” Cinch…purchased in February, and gathering dust on a shelf until just last week.

When I started collecting Spellbinders dies about six months ago, I happened on this YouTube video with a great storage idea. So I decided to use that idea to store my Mega Nestabilities and my Impressabilities. This is what I came up with…not very artistic, but it does the job! I purchased my magnetic sheets from Home Depot; they’re magnetic vent    
   covers.


But wait, I know you don’t think those are the only Spellbinders dies I have, do you? The rest of my dies are in this nifty little CD box purchased from here and labeled with my Avery label maker. 


The sleeves are the perfect size for the nesties and I just file them alphabetically. I haven’t filled one box yet, but I’m sure it won’t be long so I have another empty one waiting in the wings.


So today’s lesson is a really simple one…if you spend good money for it (and what money isn’t good!?) USE IT!

Thursday, July 21, 2011

Shop in Your Own “Store” – Paper Organization


I know it has been a VERY long time since my last post. I really had good intentions this summer and I can’t even say life got in the way. Instead I have been crafting and organizing my craft space like crazy…so the news isn’t all bad. I DO have to go back to work in two weeks though and pretty soon crafting is going to have to take a back seat to getting dressed everyday and earning wages. Truly, I don’t know how so many of you are able to craft regularly, work a full-time job, care for your family AND keep your blog current. If there’s a secret, please do share! Anyway…on to today’s topic!

When I moved into my house in 2006 my third bedroom (10 ft x 10 ft) was made into an office with built in workspaces and shelving. In the last year, my crafty stuff has slowly been taking over and it occurred to me that I’m a simple school teacher, what the heck do I need an “office” for? So slowly but surely it has evolved into a craft room, and with that has come the need to move things around and organize.

I mentioned that I’ve been an organizing fiend this summer and in working through that task, I had an epiphany the other day. The urge to just buy, buy, buy is starting to dissipate (important because I’m a teacher, and well…’nuff said!) because I can put my hands on almost everything in my craft space quickly and easily, and in doing so, I am rediscovering many things that I totally forgot I had.

So…this begins my series of posts on organization, which I actually promised to do a long time ago. I can’t take credit for most of the ideas and when I’m able, I’ll point you in the direction that the idea came from so you can get more information.

Today…it’s my paper. By many standards, I really don’t have a large collection of paper but it’s enough to keep me busy for a long, long time! I store my paper in JetMax cubes and prefer to store it standing up because it is much easier to remove a sheet of paper and return it to the right spot if I don’t use it. I know some people worry about the paper curling or warping, but that really hasn’t been an issue for me. Awhile ago I stored my paper flat and it was truly an effort to keep it organized especially when I needed to put some back. I keep my cardstock organized by color, and my patterned paper organized by color (whatever color I “feel” first when I look at the paper). I don’t organize by mfg because I don’t buy enough paper that way. When I first started purchasing paper stacks, I would pull them apart and file them according to color, but I quickly realized that it is better to keep them together, especially when trying to coordinate patterned papers for a project. So now I just label the spines and keep them turned so that I can see them.


This summer I did pull out special categories of paper and stored them separately in this little basket. These are the categories I use: Autumn, Birthdays, Disney, Holidays, Kids, Metallic Paper, Places (zoo paper, Lego Land paper, etc.) Music, People, School, Sentiments, Shaped Paper, Sports, Spring, Summer, Transparencies, Travel, and Vellum. I also have all of my CM Power Palettes, Harry Potter paper and large alphabet sticker sheets in here.


I keep all of my scraps, and most 8 ½ x 11 paper I come by, in drawers according to color. Solids and patterns are mixed together and I don’t keep any pieces that are smaller than 2” x 2”. I always trim my odd-shaped scraps into rectangles. Whenever I need a small piece of paper for a card or cricut cut, I start there first! The bottom drawer contains paper I no longer like and so I used it for practice cricut cuts.


So today’s lesson is this…if you haven’t already done so, get organized. Do it in small baby steps a little bit at a time. Start with your paper, because that’s at the heart of PAPERcrafting! 

Thanks for visiting!

Sunday, May 29, 2011

Can't find the perfect stamp or sentiment? Make your own!

I'm sure y'all are aware that there aren't a ton of male-themed scrapping and stamping supplies out there, unless of course you want to spend all of your time crafting for a baby boy. I needed to make a birthday card for my brother and my rubber stamp collection is still quite tiny especially when compared to many of y'all's collections! I had scrap-lifted a photo for my card, but I couldn't find the right sentiment for the front of it.

I went to my trusty book and found this phrase: "A brother is a little bit of childhood that can never be lost. Thanks for the memories."

Trusty Microsoft Word to the rescue. I did my best to match the ink to my chosen papers. I formatted the phrase (without the "thanks for the memories") and italicized and bolded (is this a word???) the word Brother. I copied the phrase several times across the page. Then I printed it on cardstock and punched it out with a square punch. Here's a close-up:


A little trimming, inking and embossing later and I had my finished card. Thankfully, this one didn't take me too long! The inside sentiment also came from the same book.


So our lesson for today...don't let yourself be limited by your rubber stamp collection. I assume that you have a computer or you probably wouldn't be here visiting with me...LOL!!! Use the word-processing program in that computer to make your own sentiments for your cards and layouts. You'll be amazed at what you come up with!

Thanks for reading!

Saturday, May 28, 2011

Scrap. Set. Match!!!!

For some reason, I had tennis on my mind (even though I haven't played since college) when I came up with the title for this post. Game. Set. Match! Get it??? If you don't, please humor me and pretend like you do.

For those of you who have been with me since the beginning, you know that I am patterned paper challenged!
I've blogged about it many times, but most specifically here.

***I just noticed that all of my followers have disappeared. I hope that's a glitch with blogger and not that people don't like me anymore!

Matching up patterned paper is tough for me and can consume a great chunk of my crafting time. Over the years I've acquired lots and lots of patterned paper...mostly purchased on a whim, with no project in mind. For probably the first eight or nine years of my scrapbooking life, I purchased 10 to 12 sheets of each pattern. Seriously? What was I thinking? I'm still trying to figure out how to use up some of that paper. But I digress....

I think I've found the key to my matching pp problem. I took a Spellbinders card class over at My Creative Classroom. While trying to choose paper for the cards, I pulled out a few DCWV cardstock stacks. (I just began acquiring them within the past year or two. JoAnn's has great sales!). I decided that whatever paper I used for each card would come from the same stack, thus assuring that either the colors or the patterns would work together. And...I was smart this time, and chose my paper BEFORE chosing my Copic markers for coloring.

For my Mother's Day Card, I used the DCWV Summer Dream stack. The bonus with this stack is that all of the paper is double-sided. Makes matching a no-brainer! There are three different patterns used in this card AND some embossing. The sentiment was done in Microsoft Word.


For this sympathy card, I pulled from an old Creative Memories Power Palette set called Blush Blooms. Though it's kind of hard to see in the picture, this card uses four different patterned papers, not including the white cardstock. The sentiment for this one was also done on the computer.


All of the patterned paper in this layout came from the DCWV Guy Stack.


So...I've decided that for most of my paper needs, I'll probably stick with DCWV. Their patterned cardstock is of great quality and they have a lot of selection. They are constantly coming out with new stacks. I need to start crafting on a budget and more often than not, these stacks are on sale at JoAnn's for around $10. If not there's always a coupon. Does this mean that I won't ever buy from other manufacturers or purchase single sheets again? No....but I will make every effort to buy paper that is in sets or, if buying single sheets, buy coordinating sheets that will work together for a project. Having the paper already matched removes some of that decision making that slows me down and gets in the way of my creativity.

So...our lesson for today....wait for it...wait for it!!!!

When setting out to SCRAPbook or make a card, consider purchasing and using paper that comes in SETs. It makes MATCHing patterned paper that much easier!

BTW...Despite the amount of time it took me to make those two cards, I DID manage to give them away!

It's Okay to Give Them Away...Cards That Is!

After taking about six hours to make one card, I decided that I wouldn't give my handmade cards to just anybody. (You know that feeling. You send the card to the person, they look at it, maybe display for a few days and then throw it in the trash.) It would have to be someone who would truly appreciate the time and craftsmanship that went into making the card, someone who would save it forever and ever; usually those are select family members and other paper crafters. But then I found myself participating in Friday Night Challenges over at Scraps of Color and developing a stockpile of handmade cards that I didn't want to give away.

A few weeks ago, I had an "ah ha" moment. When I was spending $5+ for a greeting card, I didn't care what the recipient did with it. When I was taking the time to design and print them with my computer software, I didn't care what the recipients did with them. If the joy comes from the crafting, why stress over what happens to the card once its sent? Just a thought.... So here are just a few that I've been hoarding that I vow to send out in the next couple of months.


Thanks for looking!!!!